
Get to know the helpful features of an airport.

Our newest blog series — #TravelTipTuesday — covers travel topics to help our families feel equipped for their Summit experience. If you missed any posts in series, you can catch up by clicking here.
We know that many students travel to the Summit independently, and that it will be some students’ first time navigating an airport. Today, we’re outlining the common helpful features of an airport to make getting around a breeze.
Students traveling as UAM, or unaccompanied minors, will have an airline representative help them navigate the airport on their way to the Summit and an Ambassador Leaders’ representative help them on their way home. UAM is a service you can purchase through your airline.
All Ambassador Leaders traveling domestically should plan to wear their lanyard and name badge.

CHECK-IN COUNTER
Most airports are separated by an “Arrivals” area and a “Departures” area. In the Departures area, the first thing you’re likely to find are check-in counters for each airline. If you need to print your boarding pass or check luggage, you’ll want to make your airline’s counter your first stop.
Here, an airline employee will weigh your baggage and add stickers to the handle, labeling it for your final destination. That person will also print out your boarding pass (if you haven’t printed it at home) and give you a sticker matching the one they put on your luggage. If your suitcase doesn’t arrive to your destination, the airline will use that sticker to track down your luggage. It’s important you hang onto it! Usually, the person helping you will place all of these documents into an envelope. Keep that envelope handy because you’ll need it at your next stop.
TIP: If you plan to check luggage, tie a bright or distinctive ribbon to the handle of your suitcase, so it’s easy to spot at the baggage claim.
SECURITY
Both when you arrive and depart, you’ll pass through a security checkpoint operated by TSA. Here, a TSA agent will request to see the boarding pass you just received from the check-in counter attendant (or printed at home). In terms of what identification to provide TSA, be sure to call your airline and check what will be required.
At the security checkpoint, you’ll place your carry-on bag on a conveyor belt. Be sure to take out your laptop and liquids. Remember, carry-on liquids, gels or aerosols have to be smaller than 3 oz. each and all have to fit within 1 quart-sized bag. If you’re older than 12, you’ll be asked to remove your shoes and place them in a bin on the conveyor belt as well.
Each traveler passes through a metal detector. Pay attention to the TSA agents’ instructions. They’ll help you go through this check. Before you leave the security area, be sure you’ve gathered all your belongings from the bins and securely placed your items back in your carry-on bag. This includes the envelope you received at the check-in counter with your boarding pass and luggage sticker.
TIP: Sometimes security checks are designated for certain gates only. Check signs and your boarding pass before getting in line to be sure that you can access your gate from that security checkpoint.
GATE
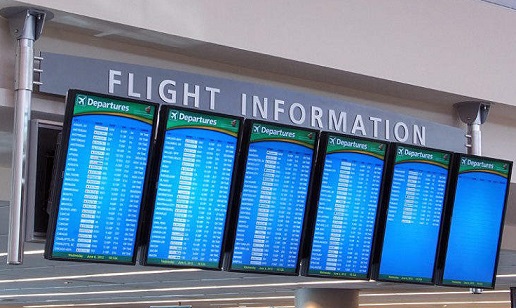
Once you’re through security and double-checked that you’ve repacked everything into your carry-on bag, you’ll want to make your way to your gate. Your gate should be listed on your boarding pass, but if not, go to one of the display monitors near the security area and check which gate your flight will depart from. If you have time prior to boarding, make sure to snag a seat near your gate and listen for the announcements. Occasionally, the airline will change your flight’s gate number and announce it over the speakers.
If you need any help once you’re through security, each gate has airline employees who can answer your questions and give you assistance. Just approach the desk at your gate and wait until one of the employees is available to talk.
BAGGAGE CLAIM
Once you’ve arrived at your destination, you’ll want to look for signs that direct you to baggage claim. These are the big conveyor belts where checked luggage will be delivered and circulated. After you’ve collected your baggage, make your way to the designated meet-up location noted on the airport map you received (Harvard, UCLA, Yale, Johns Hopkins). This can also be found in the Summit Prep Portal.
Be sure to look for an Ambassador Leaders representative identified by an Ambassador Leaders’ t-shirt, name badge, and sign. Find the representative after you’ve collected your luggage. If you have any trouble, call the program office at 509.396.5551, and we’ll happily assist you in finding our airport staff.
TIP: If you’re having trouble locating the baggage claim, look for an Information desk. Nearly every major airport has one, and it’ll be staffed with informative volunteers who can point you in the right direction.
For more information, take a look at the Student Travel Tip Sheet.

By Corie Bales
Corie is the Academic Affairs Manager of Ambassador Leaders. As a lifelong educator and avid traveler, she believes in empowering students and teachers to learn and lead through experiential education.